

 English
 English
 русский
 Français
 Español
 Português
 عربى
عربى
Cat:Glue -coated Protective Film
● Protect window glass against paint splatters, dirt, staining, and spillages during painting, building, plastering, tiling, general maintenance and r...
See Details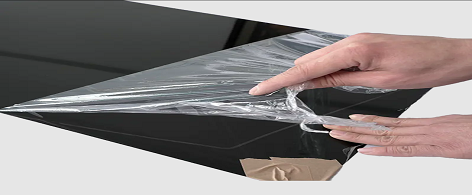
Glue-coated protective film leaves residue primarily because the adhesive has degraded, been applied to an incompatible surface, or been left in place longer than its rated service life — and in most cases, that residue can be fully removed without damaging the underlying surface using the right solvent and technique. Adhesive residue is one of the most common complaints associated with protective films across manufacturing, construction, and consumer applications. Understanding exactly why it happens — the chemistry behind adhesive failure, the environmental factors that accelerate it, and the surface-specific removal methods that actually work — is the foundation for both effective remediation and smarter film selection going forward.
Glue-coated protective films rely on pressure-sensitive adhesives (PSAs) — polymer systems designed to bond to surfaces under light pressure without requiring heat, solvent activation, or chemical curing. The most common PSA chemistries used in protective films are acrylic-based, rubber-based, and silicone-based adhesives, each with different performance profiles, temperature tolerances, and aging characteristics.
Under ideal conditions — correct surface type, appropriate temperature range, and removal within the rated service window — a PSA forms a reversible bond with the substrate that releases cleanly when the film is peeled away. Residue occurs when this clean release fails, which happens through several distinct mechanisms:
The most common residue mechanism is adhesive transfer — a portion of the adhesive layer separates from the film backing and remains bonded to the substrate rather than returning with the film during removal. This occurs when the adhesive-to-substrate bond becomes stronger than the adhesive-to-backing bond. Several factors drive this: aging increases the molecular entanglement between the adhesive and substrate surface; UV exposure cross-links acrylic adhesives into a stiffer, more cohesively weak structure; and elevated temperatures soften rubber-based adhesives to the point where they flow into surface micro-textures, creating mechanical interlocking that resists clean release.
Cohesive failure occurs when the adhesive splits internally during removal — part remains on the film and part remains on the substrate. This is distinct from adhesive transfer in that the residue left behind is a fractured portion of the adhesive rather than a clean layer of it. Cohesive failure is common in aged rubber-based adhesives that have become brittle, in films removed at very low temperatures where PSAs lose flexibility, and in films that have been over-pressured during application, compressing the adhesive excessively into surface irregularities.
Many protective films use PVC or other plasticized polymer backings. Over time, plasticizers migrate from the backing into the adhesive layer, altering its rheological properties. A plasticizer-contaminated adhesive becomes softer, stickier, and more prone to leaving residue on removal. This process is temperature-dependent — warmer storage and application environments accelerate plasticizer migration significantly, which is why films left on surfaces in hot outdoor environments or near heat sources develop residue problems far more rapidly than those in controlled indoor settings.
Acrylic PSAs are particularly susceptible to UV-induced cross-linking. Prolonged exposure to ultraviolet light causes additional covalent bonds to form within the adhesive polymer network, increasing its cohesive strength but simultaneously making it more brittle and more strongly bonded to the substrate. A film left outdoors in direct sunlight for several weeks may develop residue that is essentially chemically fused to the substrate surface — a fundamentally different challenge from fresh adhesive transfer that requires more aggressive removal approaches.
Residue is not random — it is predictable based on specific conditions. Understanding which factors increase residue risk allows for proactive management of protective film applications before problems develop.
| Risk Factor | Effect on Adhesive | Residue Risk Level |
|---|---|---|
| Exceeded service life | Adhesive-substrate bond strengthens beyond release threshold | Very High |
| Direct UV / sunlight exposure | Cross-links acrylic adhesives; causes brittle cohesive failure | Very High |
| High temperature exposure | Softens rubber adhesives; accelerates plasticizer migration | High |
| Porous or rough substrate | Adhesive flows into surface texture; creates mechanical lock | High |
| Incompatible adhesive type | Chemical interaction between adhesive and substrate chemistry | High |
| Cold temperature removal | Adhesive becomes rigid; brittle cohesive failure on peeling | Moderate |
| High application pressure | Over-wetting of adhesive into surface; increased contact area | Moderate |
| Freshly painted surface | Solvents in paint interact with adhesive chemistry | Moderate |
The interaction between service life and UV exposure is particularly important. Most protective film manufacturers rate their products for indoor use at 3 to 6 months and outdoor use at 30 to 90 days before residue risk increases significantly. A film rated for 30-day outdoor use that is left in place for 60 days in direct sunlight is not simply twice as likely to leave residue — the UV cross-linking and temperature cycling effects are non-linear, and residue risk escalates sharply beyond the rated service window.
Not all adhesive residue is the same, and applying the wrong removal method to a specific residue type can spread the contamination, damage the substrate, or simply waste time and materials. Before selecting a removal approach, identify which type of residue is present.
Adhesive residue removal works by dissolving or softening the polymer chains of the adhesive so they lose their grip on the substrate surface. Different solvents interact with different adhesive chemistries, which is why solvent selection matters as much as application technique.
Isopropyl alcohol at 70% concentration or above is the most broadly useful first-line solvent for adhesive residue removal. It is effective against acrylic and many rubber-based adhesives, evaporates cleanly without leaving its own residue, and is safe for use on the majority of hard surfaces including glass, metal, most plastics, and painted surfaces when applied carefully. It is available in virtually every pharmacy and hardware store at minimal cost.
Apply IPA to a clean microfiber cloth rather than directly to the surface to control the quantity and prevent pooling in surface features. Allow 30 to 60 seconds of dwell time for the alcohol to penetrate and soften the adhesive before wiping. For heavier residue, repeat applications with fresh cloth sections are more effective than vigorous scrubbing, which risks surface abrasion.
d-Limonene, derived from citrus peel oils, is an exceptionally effective solvent for rubber-based and natural adhesive residues. Commercial products such as Goo Gone use d-limonene as their primary active ingredient. It is particularly effective on aged, stringy residue that has become too stiff for alcohol to penetrate efficiently. Its slower evaporation rate compared to alcohol is an advantage in this context — longer dwell time allows deeper adhesive penetration before wiping.
Apply citrus solvent, allow 2 to 5 minutes of contact, then remove with a clean cloth. Follow with an IPA wipe to remove the citrus oil residue before it attracts dust. Do not use citrus solvents on polycarbonate, acrylic sheet, or solvent-sensitive plastics — d-limonene can cause stress cracking in these materials.
Naphtha (VM&P Naphtha or lighter fluid) is a stronger hydrocarbon solvent effective against both acrylic and rubber adhesives, including heavily aged residue that resists alcohol and citrus solvents. It is commonly used in manufacturing environments for cleaning adhesive residue from metal tooling and stainless steel components. Apply with a clean cloth, allow brief dwell time, and wipe clean. Naphtha is flammable and requires adequate ventilation — use only in well-ventilated areas away from ignition sources, and follow with a water wipe on any surface that will contact food or skin.
Acetone is among the most powerful commonly available solvents for adhesive residue, capable of dissolving heavily cross-linked acrylic residues that resist gentler solvents. However, its aggressive solvent strength is a significant liability — acetone dissolves or severely damages most plastics, painted surfaces, powder coatings, and lacquered finishes. Its use should be restricted to bare metal, glass, and ceramic surfaces where surface compatibility has been confirmed. Always test in an inconspicuous area first and use in minimal quantities to reduce the risk of unintended surface damage.
Heat softens pressure-sensitive adhesives by increasing polymer chain mobility, reducing the cohesive strength of the residue and making it more amenable to mechanical removal. A heat gun or hair dryer applied to the residue area at 50–70°C (120–160°F) for 30 to 60 seconds can transform a hard, resistant residue into a soft, easily wiped material. Heat is particularly effective as a pre-treatment before solvent application on thick or heavily aged residue deposits.
Exercise caution with heat on surfaces sensitive to thermal distortion — thin plastic sheets, vinyl, and some painted surfaces can warp or blister if heat is applied too aggressively or for too long. Keep the heat source moving continuously rather than concentrating it on a single point.
The correct removal approach varies significantly by substrate material. Using a method suitable for one surface type on an incompatible surface can cause damage that far exceeds the original residue problem. The following guidance covers the most commonly affected surface categories.
| Surface Type | Recommended Method | Methods to Avoid |
|---|---|---|
| Glass | IPA or acetone; razor blade scraper at low angle for thick deposits | Abrasive pads (scratch risk) |
| Stainless steel | IPA, naphtha, or citrus solvent; wipe in grain direction | Steel wool (scratches finish) |
| Painted metal / automotive | IPA or citrus solvent; gentle heat pre-treatment for aged residue | Acetone, harsh abrasives |
| Polycarbonate / acrylic sheet | IPA only; soft cloth, minimal pressure | Acetone, citrus solvents, naphtha (cause crazing) |
| Powder-coated surfaces | IPA or citrus solvent at low concentration; test first | Acetone, prolonged solvent soaking |
| Anodized aluminum | IPA; avoid prolonged contact with any solvent | Alkaline cleaners, abrasives |
| Stone / granite / marble | Citrus solvent or IPA; avoid prolonged exposure | Acetone (can strip sealant); acidic cleaners on marble |
| Wood (sealed/finished) | Citrus solvent; minimal quantity, immediate removal | Acetone, naphtha, prolonged soaking |
Automotive clear coat finishes require particular care during adhesive residue removal. The clear coat layer is typically 40–80 microns thick and can be permanently dulled or damaged by aggressive solvents or abrasive mechanical removal. The safest approach for automotive surfaces is to use a dedicated automotive adhesive remover product or IPA at 70% concentration, applied with a clean microfiber cloth using minimal pressure. For stubborn aged residue, a clay bar lubricant and detailing clay bar is the professional preferred method — it mechanically lifts adhesive residue without chemical risk to the clear coat or the use of abrasive materials.
After residue removal from any painted automotive surface, apply a fresh coat of automotive wax or paint sealant to the affected area to restore surface protection that may have been diminished during the removal process.
Regardless of solvent type or surface material, the removal process follows the same logical sequence. Deviating from this sequence — such as applying maximum solvent strength immediately without testing, or using aggressive mechanical methods before softer approaches — increases the risk of surface damage without meaningfully improving residue removal speed.
For high-volume industrial applications or particularly resistant residue, purpose-formulated adhesive remover products offer advantages over general solvents in terms of dwell time optimization, substrate compatibility, and worker safety profiles.
Residue prevention is significantly easier and less costly than residue removal. The majority of protective film residue problems are avoidable through correct film selection, proper installation, and timely removal.
Protective films are available in low-tack, medium-tack, and high-tack adhesive formulations. The instinct to select higher-tack films for better protection is often counterproductive — higher tack means stronger adhesive-substrate bond, which means higher residue risk on removal. Use the lowest tack level that provides adequate adhesion for the specific application. For smooth, non-porous surfaces such as polished metal or glass in indoor environments, low-tack films provide full protection with significantly cleaner release.
This is the single most actionable prevention measure. Mark the installation date on each film application and schedule removal before the rated service life expires. For construction and manufacturing environments where films are routinely left in place until project completion, build removal scheduling into the project timeline as a discrete task rather than an afterthought. A film removed at day 25 of a 30-day rated service life releases cleanly in the vast majority of cases — the same film left at day 45 has a dramatically higher residue probability.
Where outdoor UV exposure is unavoidable, select films with UV-stabilized adhesive and backing formulations rated for exterior use. These products incorporate UV absorbers that slow the cross-linking process and extend the clean-release window. Additionally, avoid applying protective films to surfaces that will be exposed to direct heat sources — vehicle bonnets parked in direct summer sun, surfaces near industrial heat equipment, or panels adjacent to lighting fixtures — unless the film is specifically rated for elevated temperature service.
The physical conditions during film removal significantly affect clean release. Remove protective films at temperatures between 15°C and 30°C (60°F and 86°F) whenever possible — below this range, adhesives become brittle and prone to cohesive failure; above it, they become overly soft and prone to adhesive transfer. Peel at a consistent angle of 180 degrees (back over itself) rather than at acute angles, and at a slow, steady pace rather than in rapid jerks. Rapid removal generates higher peel forces that increase the risk of cohesive failure within the adhesive layer.
Adhesive residue from glue-coated protective film is not an unavoidable consequence of film use — it is the predictable result of specific, identifiable conditions: exceeded service life, UV exposure, thermal stress, incompatible adhesive selection, or improper removal technique. Prevent it by selecting the correct tack level, removing within the rated service window, and peeling at the right temperature and angle. Remove it by identifying the residue type, selecting a compatible solvent, and applying it with appropriate dwell time and gentle mechanical action. Applied consistently, these principles eliminate the majority of protective film residue problems before they require remediation — and provide a clear, systematic path to resolution when they do occur.
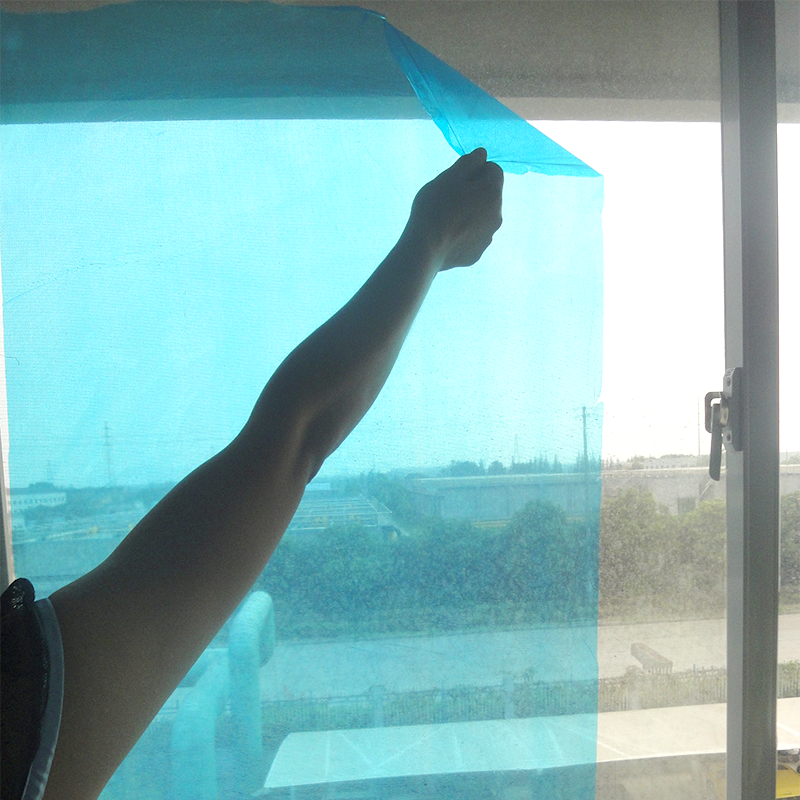
● Protect window glass against paint splatters, dirt, staining, and spillages during painting, building, plastering, tiling, general maintenance and r...
See Details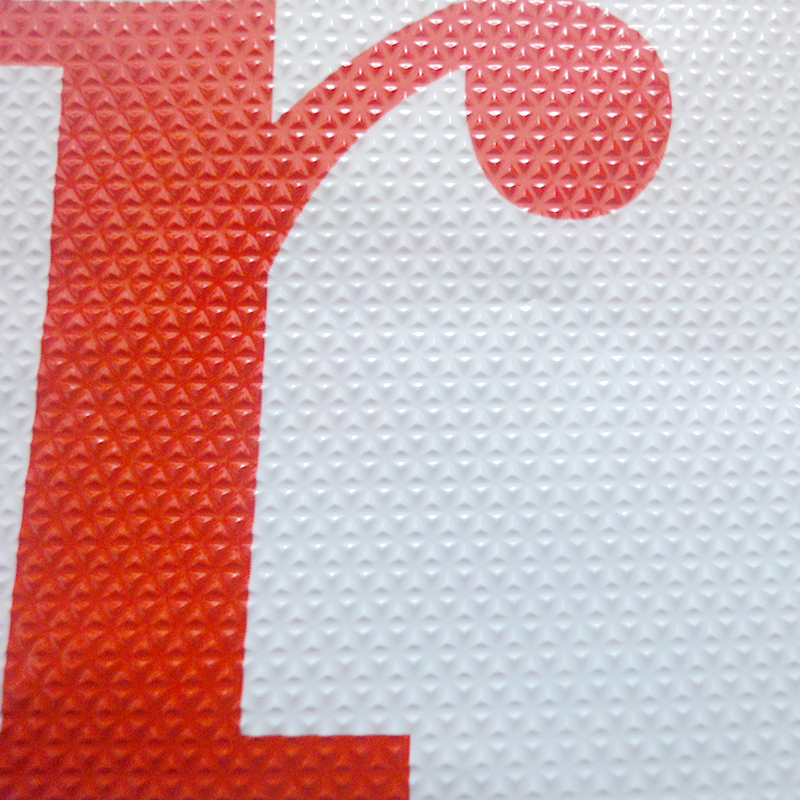
● Anti-slip; ● Embossed film surface to guarantee trip safety;● Tough puncture-resistant polyethylene film;● Can be coated with or without adhesive;● ...
See Details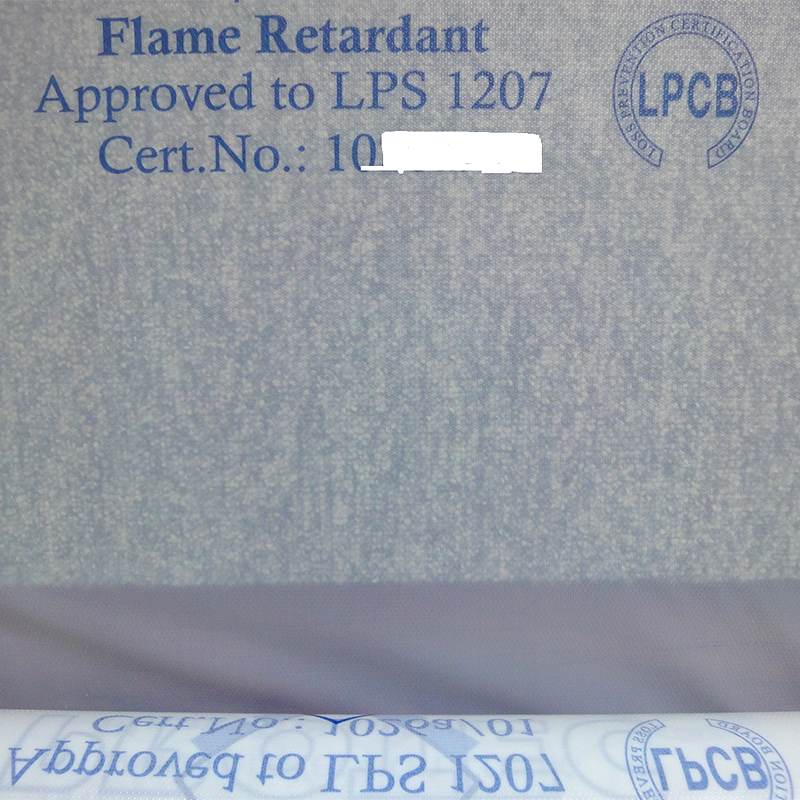
● Prevents costly damages in case of fire /flame;● Meet the strict international test standards of loss prevention; ● Extensive selection for flame re...
See Details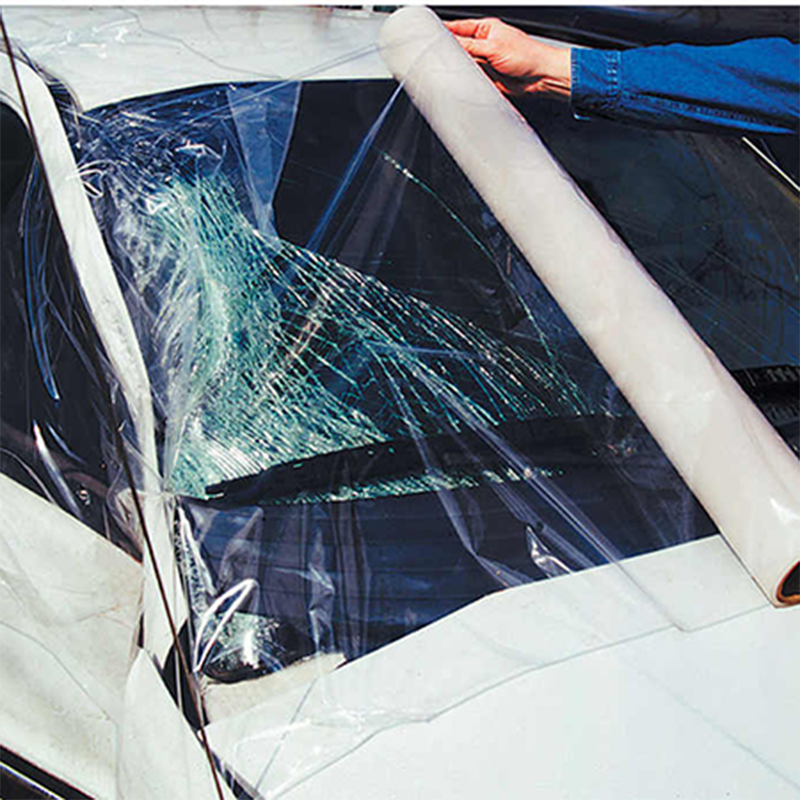
● The super-tough polyethylene film resists puncture and penetration by rain, snow, debris, and dirt during the transportation and storage of the cras...
See Details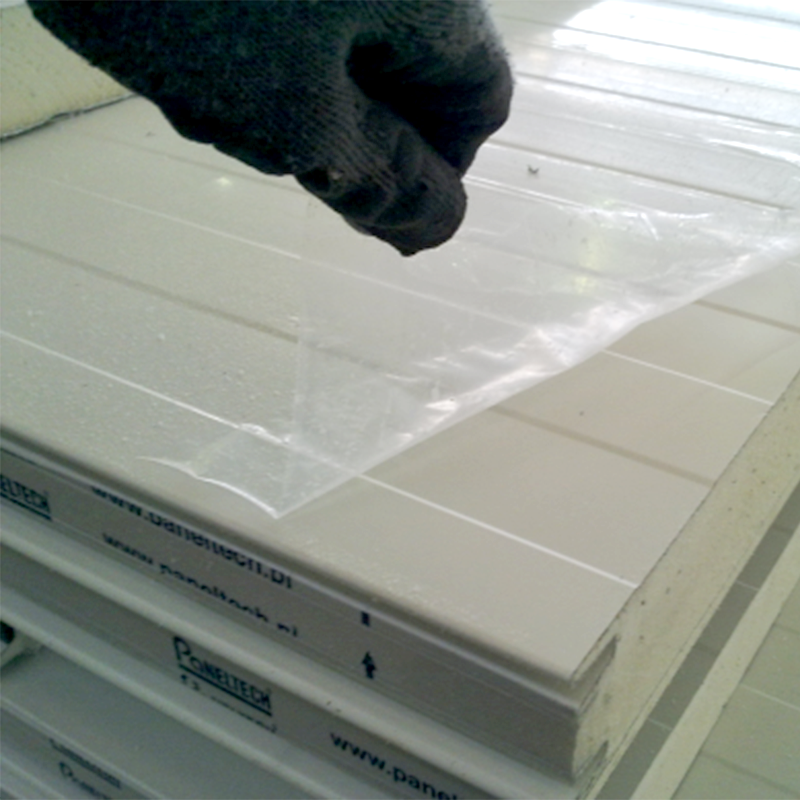
● The specially formulated adhesive ensures easy application and removal without leaving residue glue on the sandwich panels; ● The super-tough polyet...
See Details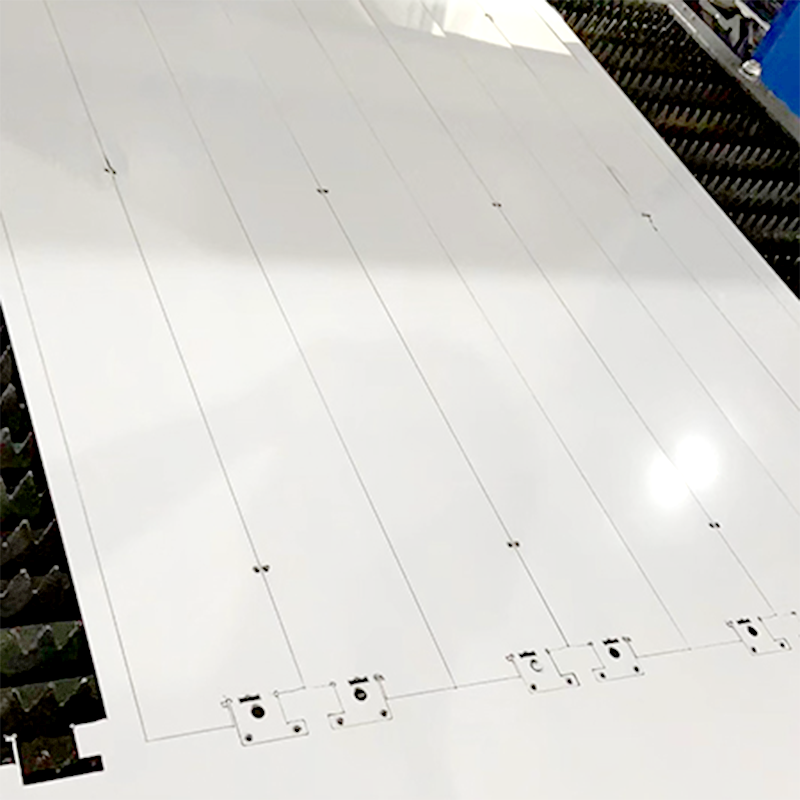
● The specially formulated natural rubber adhesive suitable for both CO2 and Fiber laser cutting processes;● High cutting quality without burr or trac...
See Details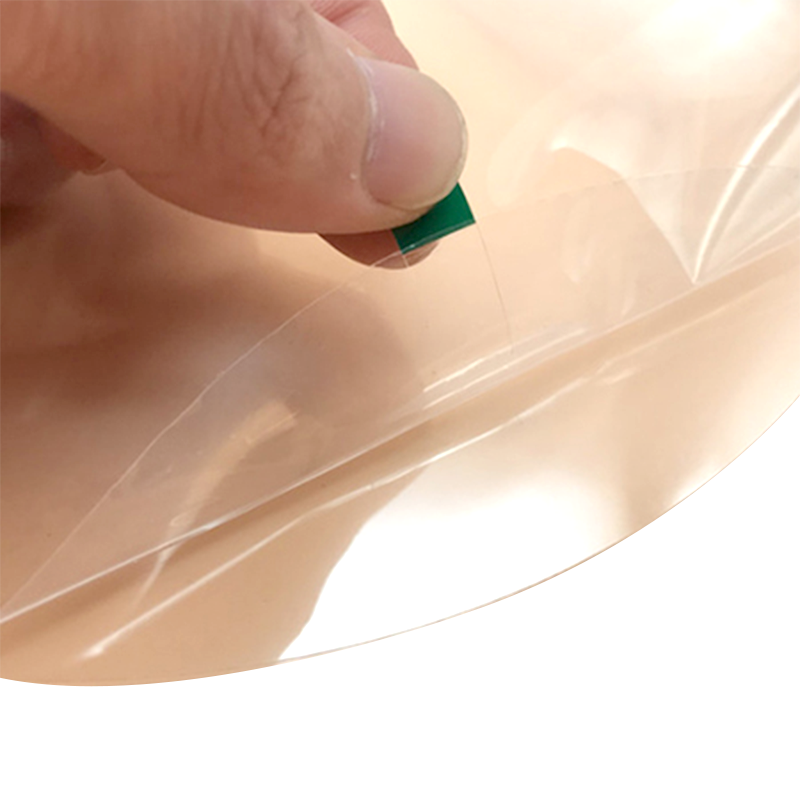
● Suitable for plastic sheets’ drilling, cutting, routing, thermoforming, bending, or post-fabrication operations;● No “ghost shadow” or “fish eye” af...
See Details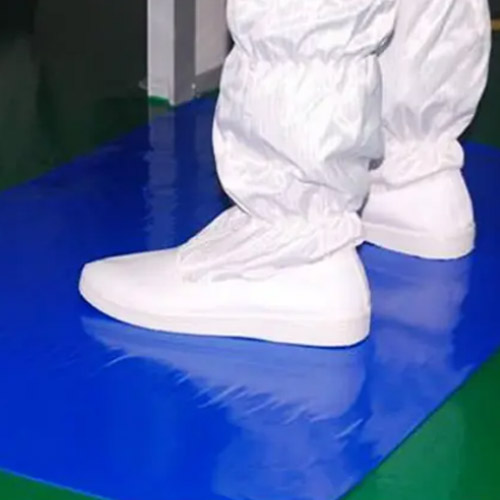
● Options for either 30 or 60 layers per mat; can be packed with four mats, eight mats, or ten mats per carton;● Remove dirt effect: ≥99.9% (5 steps);...
See Details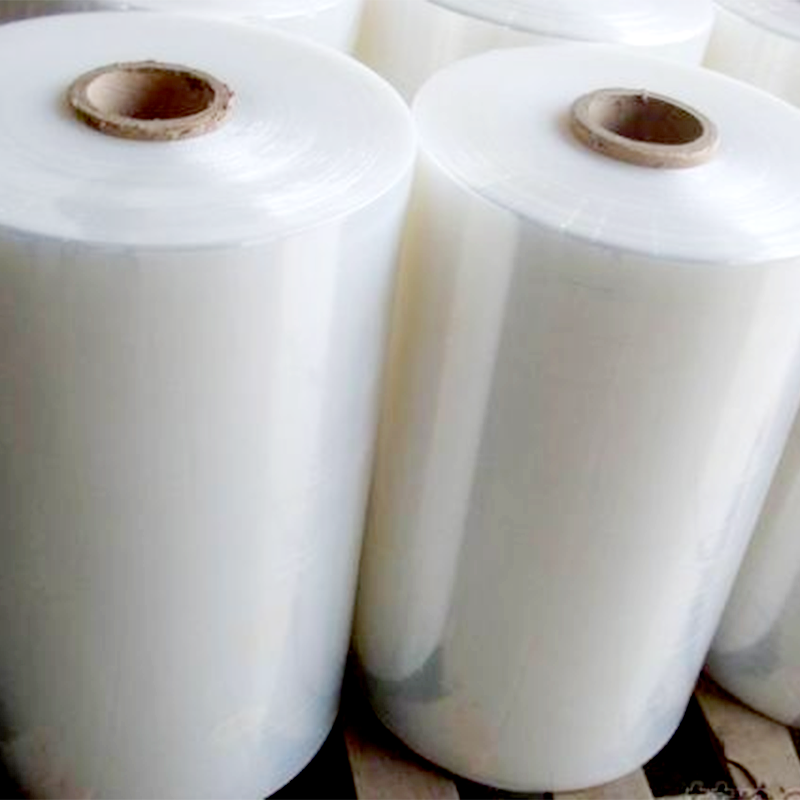
● Excellent puncture and tear resistance; ● Self-adhering-each layer of film bonds to the next for added strength; ● Big roll size to save cost and re...
See Details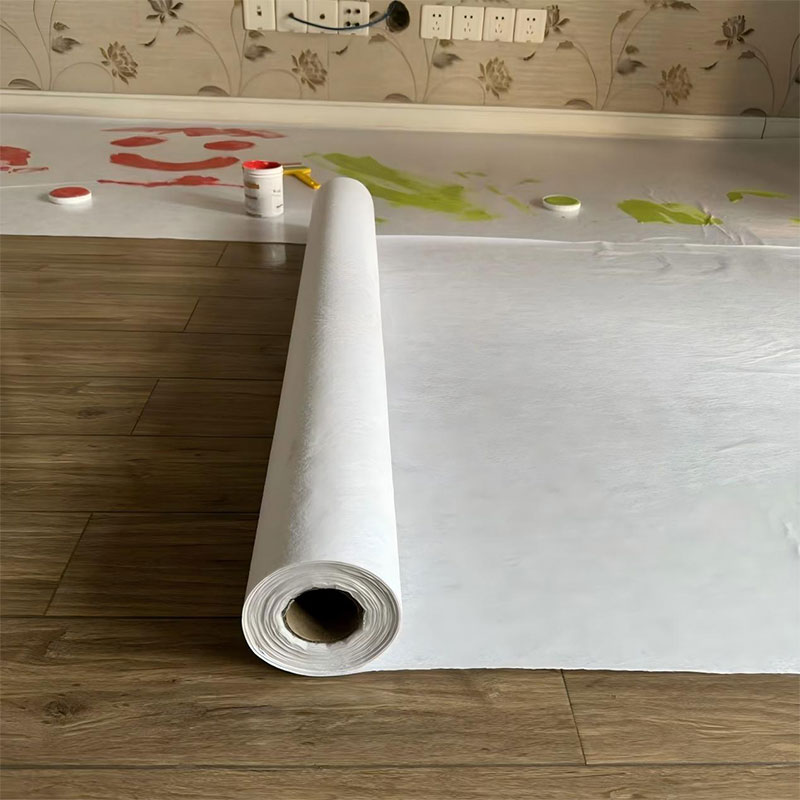
This product has non-woven synthetic fleece in middle; PE film adhered onto top of the non-woven fabric, which is coated with self adhesive glue on it...
See DetailsWe’re a reliable partner that shapes our expertise into success for your project.

Copyright 2024 Wuxi Qida Tape Co., Ltd. All Rights Reserved
 Wholesale Protective Film/Foil Manufacturers
Privacy
Wholesale Protective Film/Foil Manufacturers
Privacy